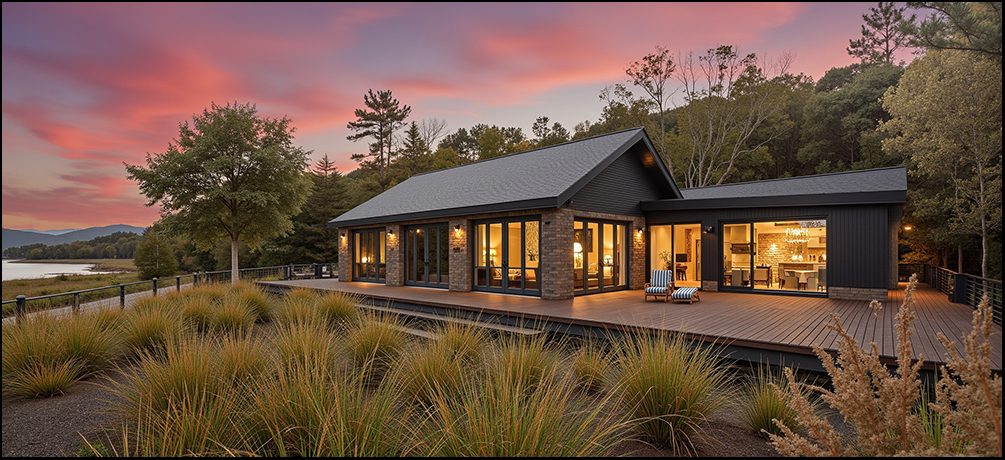
When you decide to build a new home or renovate your existing one, it is because something isn’t meeting your needs. Maybe it no longer meets your space requirements, or maybe it just doesn’t make you smile like you want. Our architectural services focus on these problems to design and build a home that solves those shortcomings. We start with creative ideas and innovative solutions to cover your needs, and build a design that focuses on them. No matter your problem, we can help guide you through dozens of solutions that you may not have even known were possible.
We all have budgets, big or small, which need to be respected and used to their fullest. The best way to make your budget work for you is choosing an experienced architectural studio. Construction projects need expertise at every stage; without it homeowners often find themselves making uninformed decisions which require circling back, and that can eat away at budgets quickly. We have the expertise and experience to follow best practices the first time.
Our process.....
Meeting the client & Design concept stage.
 |
|---|
Client Consultation & Brief Development.
-
Meet with the client to understand their needs, lifestyle, budget, and site constraints.
-
Discuss project goals, wish-lists, and how the space will be used.
Site Analysis
-
Review the site (or existing structure) in relation to sun path, wind, views, access, orientation, and local council planning rules.
-
Consider zoning, height limits, setbacks, and potential constraints.
Sketch Concepts & Layout Options
-
Develop early floor plan layouts and massing studies (basic 3D shapes showing form and volume).
-
Present multiple layout or form options, often using hand sketches, 2D drawings, or quick 3D models.
3D Visualisation / Concept Renders
-
Use 3D modeling tools (and now AI rendering, if available) to create visuals that help the client better understand the design.
-
Show materials, spatial flow, and general aesthetic direction.
Feedback & Refinement
-
Collaborate with the client to refine the design based on feedback.
-
The goal is to lock in a clear concept that everyone feels confident moving forward with.
High-Level Coordination with Consultants
-
Touch base with structural engineers, planners, or surveyors to check feasibility.
-
Ensure that the concept is realistic and can move toward detailed design.
Site visits
 |
|---|
Assess Site Conditions
-
Observe the natural features: slope, vegetation, sunlight, wind, views, drainage, soil type, etc.
-
Take note of existing structures, boundaries, fences, neighbouring buildings, access points, and potential obstructions.
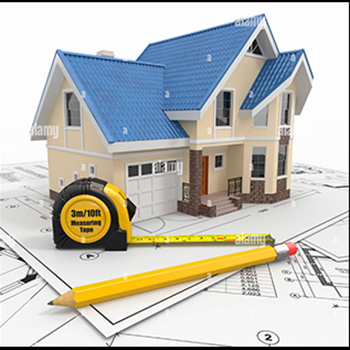
Measure Key Dimensions
-
If no recent site plan is available, rough on-site measurements may be taken to confirm distances, setbacks, levels, etc.
-
Check building orientation using a compass or app.
Photograph the Site
-
Take plenty of photos from multiple angles to reference later in the design process.
-
Include surroundings, driveway access, any elevation changes, and neighbouring buildings for context.
Evaluate Council Constraints On-site
-
Think through local planning rules (e.g., height-to-boundary, recession planes, site coverage).
-
Note how these might affect the design early on.
Discuss the Vision with the Client (if present)
-
Walk the site with the client and talk through their ideas in real-time.
-
Mark out potential building footprints or key features (e.g. where the sun hits in the afternoon, view lines).
Check for Practical Issues
-
Assess ease of site access for construction.
-
Look for things like drainage issues, overhead wires, or retaining needs.
Cross-reference with Plans or Title Info
-
Review site boundaries and compare with any existing drawings, legal titles, or topo surveys.
Preliminary Design
 |
|---|
Develop the Approved Concept
-
Take the chosen concept layout and begin to add more structure and detail.
-
Refine spatial planning, room sizes, circulation flow, and relationships between spaces.
Create Scaled Drawings
-
Develop scaled floor plans, elevations, and sections to start testing proportions, roof-lines, openings, and form.
-
These drawings are more accurate than sketches, but not yet construction-level detailed.
Further Develop 3D Models or Renders
-
Continue refining 3D visualisations to help the client see how materials, massing, and daylight interact.
-
Often includes preliminary material palettes and external finishes for discussion.
Begin Coordination with Consultants
-
Start liaising with engineers, surveyors, planners, and others for early input.
-
Ensure the proposed design works structurally and fits within local council rules and building codes.
Assess Compliance
-
Check the design against NZBC and District Plan rules — including site coverage, setbacks, recession planes, and height limits.
-
Make early adjustments to avoid major issues later.
Gather Client Feedback
-
Present the preliminary design to the client for review.
-
Discuss any refinements or changes before moving into detailed design and documentation.
Prepare for Resource Consent (if needed)
-
If a Resource Consent is required (e.g. for height or site coverage breaches), this is usually when the initial application prep begins.
Building consents
 |
|---|
Prepare Detailed Construction Drawings
-
Create full sets of architectural plans, elevations, sections, and construction details.
-
These show how the building will be constructed, including materials, fixings, dimensions, and structural integration.
Ensure Full NZ Building Code Compliance (NZBC)
-
Document the design to meet all relevant NZBC clauses (e.g. B1 structure, E2 weather tightness, G4 ventilation, etc.).
-
Include compliance notes, product specifications, and construction methods in line with Acceptable Solutions or Alternative Methods.
Coordinate with Consultants
-
Gather and integrate documentation from other professionals (e.g. structural engineer, geotechnical engineer, drainage designer, truss/fabricator specs, fire reports).
-
Ensure all consultant inputs are aligned with the architectural documentation.
Create the Building Consent Package
-
Assemble all required documents into a complete set for submission to council. This typically includes:
-
Architectural drawings
-
Specifications
-
Producer statements (PS1s)
-
Supporting reports (e.g. engineering, energy efficiency, stormwater)
-
Site plan, floor plans, elevations, sections
-
Construction details
-
Design features report (if needed)
Lodge Consent with Council (or Assist the Client/Agent)
-
Submit the application via the council portal (e.g. Objective Build/Simpli).
-
Respond to Requests for Further Information (RFI) if council raises queries.
Maintain Communication with Client & Consultants
-
Keep the client updated throughout the consent process.
-
Clarify council requests and revise documents if needed.